A keyboard typing test is most useful when you treat it as a measurement system, not a one run challenge. The practical method is to run short warmup checks, collect stable benchmark runs, and score transfer with real task text. This gives you three numbers that matter: peak pace, stable pace, and usable pace. If you track those separately, you can improve WPM without losing accuracy or wasting weeks on misleading spikes.

Most people search for a keyboard typing test to answer one question: am I getting faster. The usual answer comes from a single 60 second score. That number is easy to share, but it is weak for planning. It blends warmup state, text difficulty, correction behavior, and fatigue into one value.
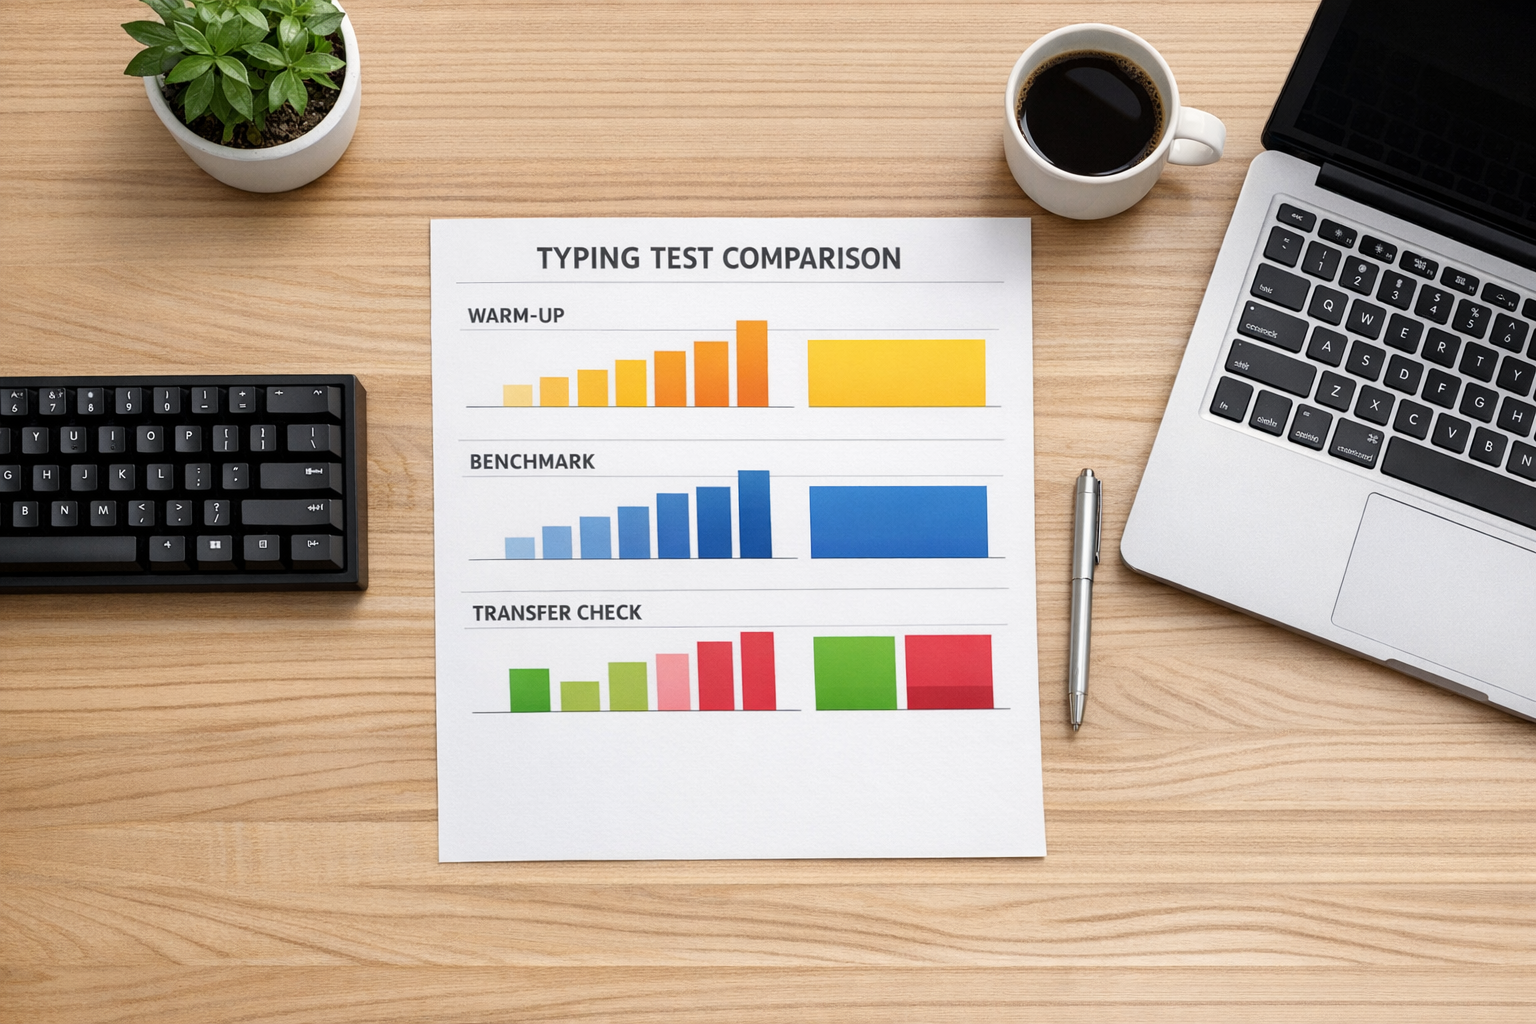
A better approach is to split your test session into modes. Each mode answers a different training question:
- warmup mode answers how quickly your hands stabilize,
- benchmark mode answers your repeatable pace,
- transfer mode answers whether speed carries into real writing tasks.
If you are setting up your first clean tracking week, start with Type Speed Test Baseline Routine: Measure Real Progress Before You Train. If your scores swing hard after mistakes, pair this guide with Typing Speed Test Error Recovery: The Metric That Predicts Real Writing Throughput. If left and right hand imbalance is visible, use Keyboard Speed Test Split Analysis: Find Left vs Right Hand Bottlenecks.
# What a keyboard typing test should measure
A typing score is not one variable. It is an output from pace, precision, and correction cost.
At minimum, a useful keyboard typing test log should track:
- gross WPM,
- accuracy percentage,
- correction intensity,
- run context such as time block and device.
For stronger analysis, add:
- effective WPM,
- recovery seconds per error,
- consistency index across runs.
Effective WPM is especially important because raw pace hides correction overhead. If you need a definition and practical formula, see Speed Typing Test: Calculate Effective WPM That Actually Matches Real Output.
From a measurement perspective, repeated sampling and robust central metrics improve decision quality more than best run selection (NIST Engineering Statistics Handbook (opens new window)). From a human performance perspective, consistency and error management usually predict transfer better than short burst speed (NIH overview of motor learning principles (opens new window)).
# The three mode keyboard typing test workflow
Use this structure for each 20 minute session. It keeps data clean and still gives enough practice volume.
# Mode 1: warmup check, 4 minutes
Run two short tests at moderate intensity. Keep your target pace around 90 percent of your weekly median. The goal is neuromotor readiness, not record pace.
Log:
- run 1 WPM and accuracy,
- run 2 WPM and accuracy,
- time to stabilize.
If run 2 is much higher than run 1, your first score of the day is still warmup noise. That is useful information for scheduling benchmark runs.
# Mode 2: benchmark set, 10 minutes
Run three 60 second tests under fixed conditions. This is your decision dataset.
Conditions to keep fixed:
- same keyboard,
- same layout,
- same language profile,
- same run duration,
- same text pool difficulty level.
Take the median of these three runs for pace and accuracy. Median gives cleaner planning signals than average when one run has an outlier typo chain.
# Mode 3: transfer check, 6 minutes
Type one short paragraph from real task style text. For many users this means email prose, documentation, or code adjacent notes.
Track:
- transfer WPM,
- transfer accuracy,
- punctuation error count.
This mode answers the question most people care about: can I type faster in normal work, not only in test passages.
# Decision table: interpret your keyboard typing test results
| Pattern in your week data | Likely bottleneck | Next action | Review window |
|---|---|---|---|
| Warmup score rises fast, benchmark flat | Technique ceiling in sustained pace | Add cadence drills at stable pace | 7 sessions |
| Benchmark improves, transfer flat | Passage skill is not transferring | Add punctuation and mixed case transfer blocks | 1 week |
| Raw WPM up, accuracy down below floor | Over speed strategy | Reduce pace target by 2 to 4 WPM and rebuild precision | 5 sessions |
| Accuracy good, recovery time high | Restart hesitation after corrections | Add error recovery ramps after each typo | 5 sessions |
| Device switch days show large drops | Hardware or layout adaptation cost | Separate logs by device and compare medians only | 2 weeks |
Use one intervention per review cycle. When you change multiple variables at once, you lose attribution.
# Weekly targets that avoid false progress
Set targets with ranges, not single point goals.
A practical weekly target format:
- benchmark median WPM target,
- minimum accuracy floor,
- maximum recovery load threshold,
- minimum transfer retention ratio.
Example target set:
- benchmark median +1 WPM,
- accuracy floor 97 percent,
- recovery load below 0.15,
- transfer retention at least 90 percent of benchmark pace.
Retention ratio formula:
Transfer Retention = transfer WPM / benchmark median WPM
If benchmark rises while retention drops, your training is overfitting to test style text.
For role aligned pace goals, use WPM Typing Test Benchmarks by Task: Set Targets That Match Real Work.
# Keyboard setup variables that affect typing test quality
A keyboard typing test can reflect setup problems, not only skill problems. Keep setup stable during measurement weeks.
Variables that commonly distort results:
- key repeat settings,
- debounce behavior,
- desk height and wrist angle,
- keycap profile changes,
- inconsistent seating distance.
When you test hardware changes, use a simple sequence:
- baseline week on current setup,
- change one variable only,
- repeat same three mode workflow,
- compare medians and spread.
Firmware level references such as QMK documentation (opens new window) are useful when you need to verify debounce or scan settings. Ergonomic guidance from OSHA workstation recommendations (opens new window) helps keep posture related noise out of your data.
# A practical keyboard typing test checklist
Use this checklist before each session:
- same keyboard and layout as previous decision runs,
- 2 warmup checks completed,
- 3 benchmark runs completed,
- 1 transfer check completed,
- WPM and accuracy logged for each run,
- correction or recovery note added,
- daily median calculated from benchmark runs,
- session ended without bonus retries.
The final point matters. Bonus retries create selection bias because slow runs are discarded and fast runs are kept.
# Worked example: one week keyboard typing test cycle
A user starts with this baseline:
- benchmark median 62 WPM,
- benchmark accuracy 97.3 percent,
- transfer WPM 55,
- transfer retention 0.89,
- recovery load 0.18.
Week goal:
- raise benchmark median to 63,
- keep accuracy at or above 97,
- reduce recovery load to 0.15,
- raise retention to 0.92.
Intervention:
- keep benchmark structure unchanged,
- add 5 minute recovery ramp drill before transfer check,
- no hardware changes.
Week result:
- benchmark median 63,
- benchmark accuracy 97.4 percent,
- transfer WPM 58,
- transfer retention 0.92,
- recovery load 0.14.
This is useful improvement because gains appeared in benchmark and transfer modes while accuracy held steady.
# Common keyboard typing test mistakes
# Mistake 1: treating one score as your skill level
Single scores are snapshots. Use weekly medians and spread to estimate stable performance.
# Mistake 2: mixing 15 second and 60 second runs in one trend line
Short runs and sustained runs measure different behaviors. Keep separate dashboards for each duration.
# Mistake 3: changing keyboard and drill plan in the same week
You cannot tell whether change came from hardware adaptation or skill gain.
# Mistake 4: optimizing only for raw WPM
Raw pace can rise while correction cost rises faster. Track effective output and recovery metrics.
# Mistake 5: skipping transfer checks
If improvement never reaches real task text, your training loop is incomplete.
# How often to run a keyboard typing test
For most users, one structured session per day is enough for tracking plus training. More sessions can help if split across time blocks, but only when logging quality remains high.
Suggested cadence:
- 5 structured sessions per week,
- 1 light day with warmup and transfer only,
- 1 rest day or unstructured typing day.
This schedule balances measurement quality and fatigue management. It also gives enough data points for weekly review without inflating noise.
# Build a keyboard typing test loop that keeps paying off
A keyboard typing test becomes a reliable improvement tool when you separate warmup, benchmark, and transfer modes. That structure turns random scores into decision grade data. Track median benchmark pace, protect your accuracy floor, and verify transfer every session. Review weekly, change one variable at a time, and let stable metrics drive your next drill. This process produces speed gains that hold up in real writing, not only on test screenshots.